 Save to Pinterest
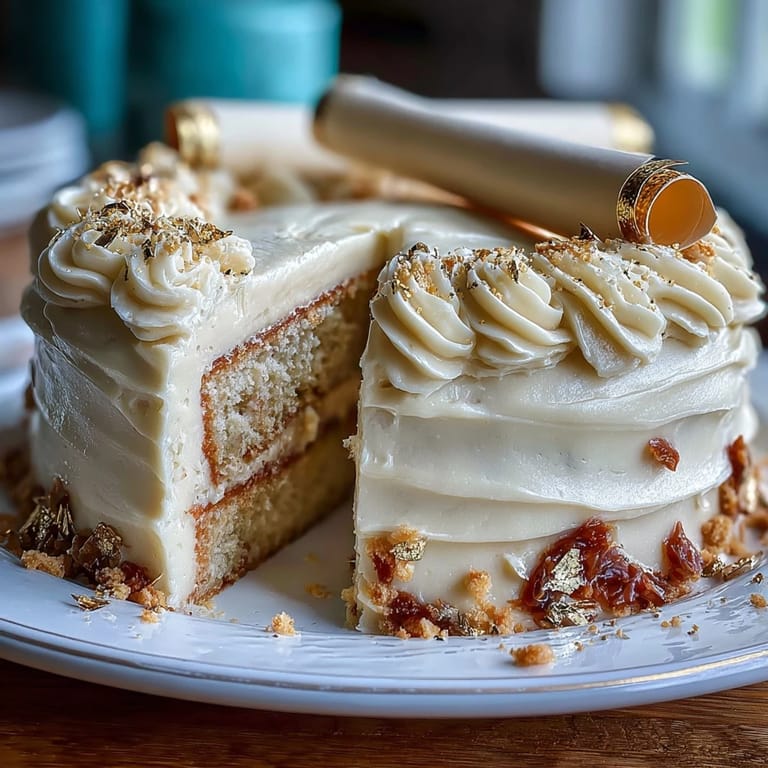
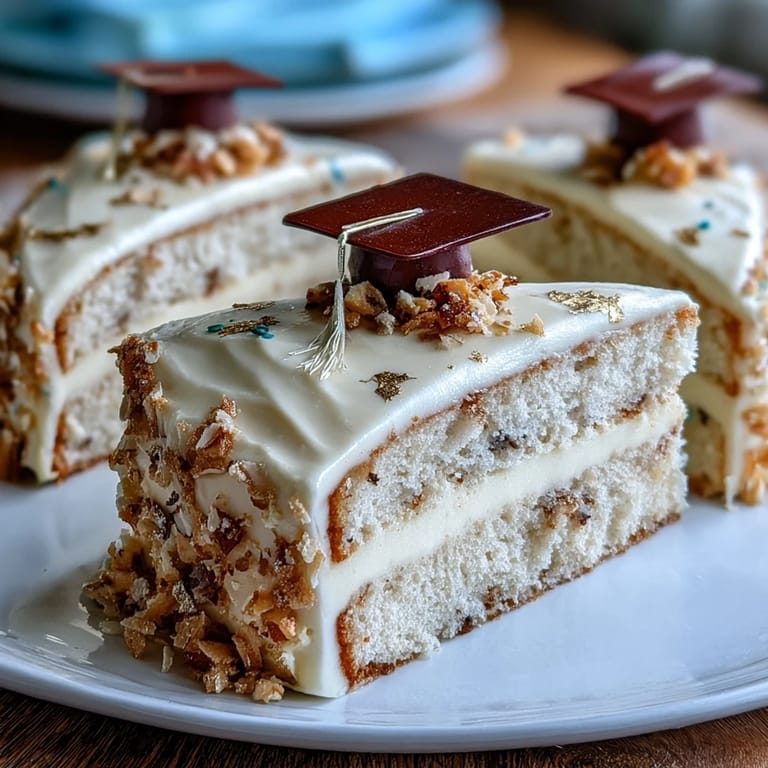
 My sister called me three weeks before graduation asking if I could make her cake, and something about the way she said it—like she already knew the answer would be yes—made me want to create something that felt as special as the moment itself. I'd baked countless cakes before, but never one that needed to say congratulations in buttercream and gold. That afternoon in the kitchen, measuring flour and softening butter, I realized this wasn't just dessert; it was edible celebration, a way to mark the exact moment everything changed for her.
I remember standing in my kitchen at midnight the night before her party, the house quiet except for the hum of the mixer, my hands working through the frosting while thinking about all the essays she'd written and exams she'd survived to get here. When I placed that little fondant diploma on top and stepped back, I actually teared up a little—it felt like I was celebrating not just a day, but her entire journey.
Ingredients
- All-purpose flour (2 ½ cups): The foundation of a tender crumb; sift it if you have time, or at least whisk it well to eliminate lumps before mixing.
- Baking powder (2 ½ tsp): Make sure yours is fresh by checking the expiration date, as old baking powder won't give you that light, airy rise.
- Salt (½ tsp): It sounds small, but this pinch brings out the vanilla and balances the sweetness beautifully.
- Unsalted butter (1 cup for cake, 1 ½ cups for frosting): Room temperature is non-negotiable—cold butter won't cream properly, and you'll end up with a dense cake.
- Granulated sugar (2 cups): This creams with the butter to create tiny air pockets that make the cake light and tender.
- Large eggs (4 eggs, room temperature): Cold eggs won't incorporate smoothly; let them sit out for 15 minutes before you start baking.
- Vanilla extract (1 tbsp cake, 2 tsp frosting): Use real vanilla if you can; the flavor difference is noticeable and worth it.
- Whole milk (1 cup cake, 3–4 tbsp frosting): This keeps the batter tender and the frosting spreadable without being runny.
- Powdered sugar (5 cups, sifted): Sifting removes lumps that can make your frosting grainy and frustrating to work with.
- Edible gold foil sheets: These are fragile and magical; handle with tweezers or completely dry hands, and keep them away from moisture and humidity.
- Diploma topper: Store-bought versions work beautifully, but fondant toppers feel more personal and are entirely edible.
Tired of Takeout? 🥡
Get 10 meals you can make faster than delivery arrives. Seriously.
One email. No spam. Unsubscribe anytime.
Instructions
- Set the stage:
- Preheat your oven to 350°F and take a moment to grease and line your cake pans with parchment paper—this step prevents sticking and makes removal effortless. Having everything ready before you mix means you won't rush the batter into a lukewarm oven.
- Build the dry foundation:
- In a medium bowl, whisk together flour, baking powder, and salt until they're evenly distributed. This pre-mixing prevents flour streaks in your final batter.
- Cream butter and sugar:
- Beat softened butter and granulated sugar together on high speed for 3–4 minutes until the mixture is pale, fluffy, and almost doubled in volume. This creaming process incorporates air and creates the cake's tender texture.
- Welcome the eggs:
- Add eggs one at a time, beating well after each addition so they fully incorporate before the next one goes in. If you rush this step, your batter will look curdled and separated, which affects the final crumb.
- Bring in vanilla:
- Stir in vanilla extract and let it distribute throughout the butter mixture.
- Alternate wet and dry:
- This is where patience matters—add flour mixture and milk in alternating additions, starting and ending with flour, and mix only until just combined. Overmixing develops gluten and creates a tough cake.
- Fill and smooth:
- Divide batter evenly between prepared pans and smooth the tops with an offset spatula so they bake evenly.
- Bake with confidence:
- Bake for 28–32 minutes until a toothpick inserted in the center comes out clean or with just a few moist crumbs. The cake will smell buttery and vanilla-rich when it's done.
- Cool with patience:
- Let cakes cool in pans for 10 minutes (this helps them set), then turn them out onto wire racks to cool completely. Frosting a warm cake is a mistake you only make once.
- Make the frosting magic:
- Beat softened butter on high speed for 3 minutes until creamy and pale, then gradually add sifted powdered sugar while mixing. Once the mixture looks like sand, add vanilla, salt, and milk one tablespoon at a time until you reach spreading consistency.
- Level your layers:
- If your cooled cakes have domed tops, trim them level with a serrated knife so they stack evenly.
- Build the cake:
- Place the first layer on your serving plate, spread a thick layer of frosting on top, then gently place the second layer over it.
- Apply the crumb coat:
- Spread a thin layer of frosting all over the cake to seal in crumbs, then refrigerate for 30 minutes. This crumb coat prevents crumbs from mixing into your final frosting layer.
- Frost with confidence:
- Apply the remaining frosting smoothly with an offset spatula, creating an even canvas for decoration.
- Add the gold accent:
- Using tweezers, carefully press edible gold foil sheets onto the frosting wherever you'd like that luxurious shimmer. Work in a dry environment and avoid touching the foil with moist fingers.
- Crown the moment:
- Place the diploma topper at the center or side of the cake, add optional sprinkles or confetti, and chill briefly to set everything in place.
 Save to Pinterest
 When my sister took her first bite at the graduation party, surrounded by friends and family, she told me it tasted like a hug—soft and sweet and exactly right. That's when I understood that baking for big moments isn't just about following steps; it's about pouring something true into every layer.
Flavor Variations to Match the Moment
The vanilla sponge is perfect as-is, but if you want to make it even more personal, add 1 teaspoon of almond extract to the batter for subtle depth, or infuse the milk with a little lemon zest to brighten the flavor. I've also tinted buttercream with gel food coloring to match school colors—it makes the cake feel like it was made specifically for that particular person and their achievement.
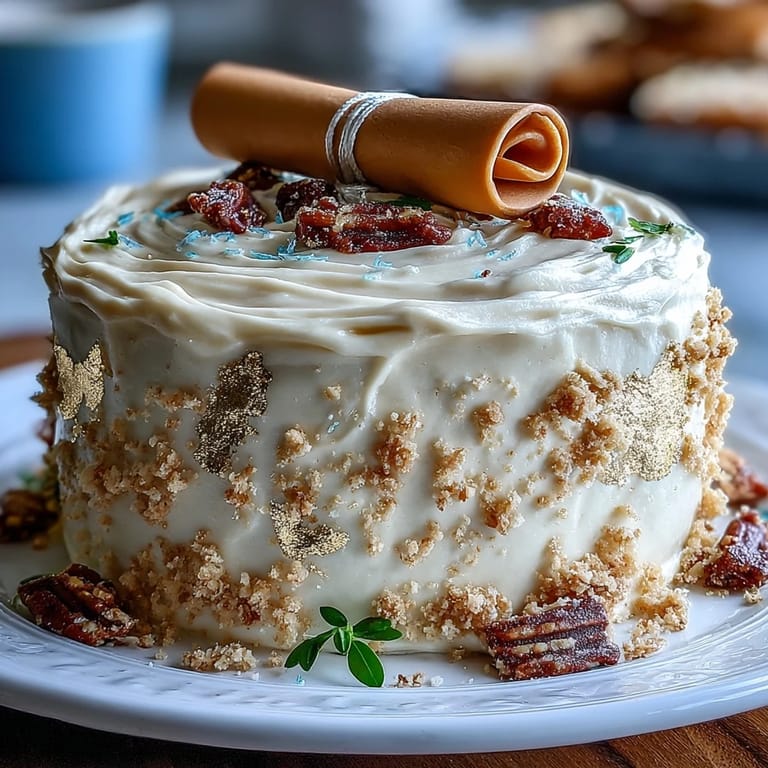
The Art of Working with Edible Gold
Edible gold foil is delicate and temperamental in the best way—it catches light differently depending on the angle and makes any cake look ten times fancier. The trick is having completely dry hands or using tweezers, applying it gently to the frosting surface, and working in a dry environment away from steam or humidity. I learned this the hard way when I breathed near the foil and watched it immediately crinkle, but the second attempt, done carefully and with intention, looked absolutely stunning.
Diploma Toppers and Edible Decorations
Store-bought diploma toppers are convenient and often beautifully made, but there's something special about crafting one from fondant and edible markers if you have the time and patience. You can write the graduate's name, the school name, or the year directly onto the fondant, making it completely personal and entirely edible. Another option is creating a simple paper diploma as a temporary topper, which you can remove for photos before serving, leaving the cake's elegance to speak for itself.
- If using fondant, let it dry for at least 24 hours before placing it on the cake so it doesn't absorb moisture from the frosting.
- Gel food coloring mixed into fondant creates richer, more vibrant colors than painting it on afterward.
- Keep any paper decorations away from the frosting itself to prevent moisture transfer.
 Save to Pinterest
 This cake exists to celebrate someone's hard work and mark a moment that won't come around again, so take your time with it and enjoy the process as much as the result. Whether it's for your sibling, your best friend, or your own graduation, this cake says what words sometimes can't—that this achievement matters, and so does the person who earned it.
Questions & Answers
- → What ingredients create the vanilla sponge?
The sponge combines all-purpose flour, baking powder, salt, butter, granulated sugar, eggs, vanilla extract, and whole milk for a moist texture.
- → How is the buttercream frosting prepared?
Butter is beaten until creamy, then powdered sugar, vanilla, salt, and milk or cream are gradually mixed in to produce a smooth, spreadable consistency.
- → How should the edible gold foil be applied?
Use tweezers to gently place the fragile gold foil sheets on the chilled cake, avoiding moisture and handling with dry hands for best results.
- → Can the diploma topper be homemade?
Yes, the topper can be made from fondant and decorated with edible markers for a fully edible decoration.
- → What is the recommended serving size?
The cake yields approximately 12 servings, ideal for medium-sized celebrations.
- → Are there optional additions to enhance flavor or decoration?
Almond extract can be added for extra flavor, and gel food coloring can customize buttercream to match school colors.