 Save to Pinterest
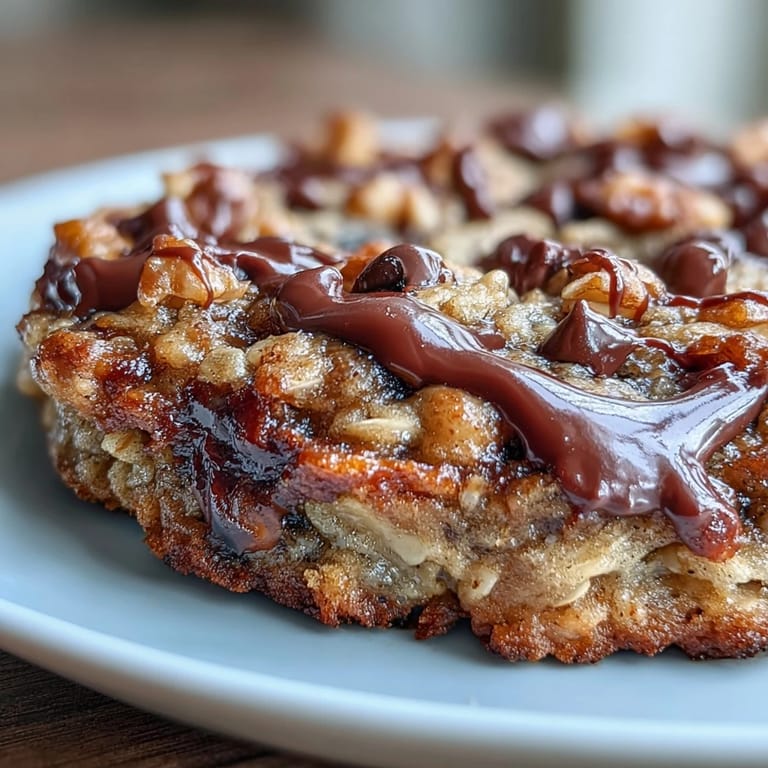
 My roommate came home from the gym one afternoon craving a Chunky Monkey smoothie but we had zero bananas and a half-melted blender. Instead of ordering takeout, I stared at the pantry and thought: why not bake it? Two hours later, this skillet emerged golden and fragrant, and she literally sat on the kitchen counter with a fork, eating it straight from the cast iron while it was still warm. That's when I knew this wasn't just a dessert—it was the kind of thing people would fight over.
I made this for a Sunday brunch gathering where someone's kid had requested something that wasn't traditional pancakes, and I watched four adults and two children pass a single forkful around the table in reverent silence. The smell alone—buttery, banana-sweet, with chocolate undertones—had filled the whole house before we even sat down. That's when I realized this skillet cookie bridges every generation without trying.
Ingredients
- Old-fashioned rolled oats (1½ cups): These hold their shape and give you that satisfying chew; don't use instant or the texture turns mushy.
- All-purpose flour (1 cup): The structure-builder that keeps the skillet cookie tender rather than dense.
- Baking soda and baking powder (½ teaspoon each): Work together to give you a gentle rise without making it airy—you want thick and chewy, not fluffy.
- Salt (¼ teaspoon): Wakes up all the other flavors, especially the chocolate.
- Unsalted butter, melted (½ cup): Melted butter distributes evenly and makes everything taste rich without needing to cream anything.
- Brown and granulated sugar (⅓ cup each): Brown sugar adds molasses depth while granulated keeps things from becoming too dense—use both.
- Egg (1 large): Binds everything and adds moisture; don't skip it even if you're tempted.
- Vanilla extract (1 teaspoon): A small amount that rounds out every other flavor quietly.
- Mashed bananas (2 ripe, about 1 cup): They should be spotted and soft; underripe bananas won't add sweetness or moisture.
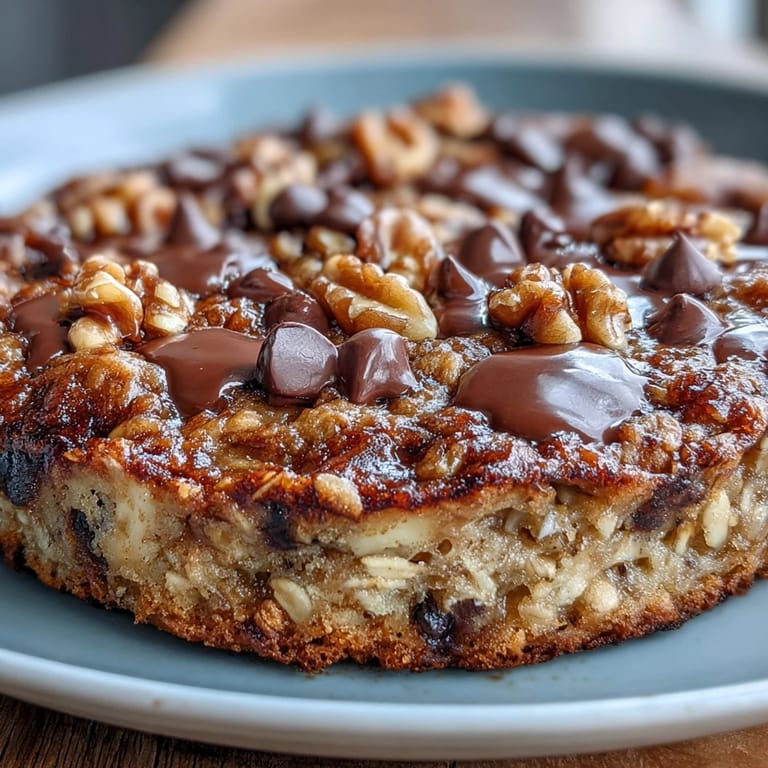
- Semisweet chocolate chips (½ cup): They soften slightly and create little pockets of melty chocolate throughout.
- Chopped walnuts (½ cup): Toast them lightly first if you want extra crunch and deeper flavor, though raw works fine too.
- Dark chocolate, chopped (½ cup, optional): If you add it, you get texture contrast and a sophisticated bittersweet note that balances the banana.
Tired of Takeout? 🥡
Get 10 meals you can make faster than delivery arrives. Seriously.
One email. No spam. Unsubscribe anytime.
Instructions
- Get your oven ready and prep the pan:
- Heat your oven to 350°F and butter or spray your 10-inch cast-iron skillet generously—cast iron needs a little extra love to keep things from sticking. If you don't have cast iron, any oven-safe baking pan works, though the skillet bakes more evenly and looks prettier on the table.
- Mix your dry team:
- Whisk the oats, flour, baking soda, baking powder, and salt together in a medium bowl until everything's evenly distributed. Set it aside and let it sit for a minute; this is your moment to breathe.
- Build your wet base:
- In a large bowl, stir the melted butter with both sugars until it looks like wet sand, then beat in the egg and vanilla until smooth. You should see a slight shine that tells you everything's well combined.
- Fold in the bananas:
- Add the mashed bananas and stir until you don't see any streaks of white or yellow—the batter should be uniformly tan and smell like banana bread territory. This is non-negotiable for flavor.
- Bring it together gently:
- Pour the dry mixture into the wet mixture and fold with a rubber spatula using about 15 gentle strokes—overmixing develops gluten and makes things tough, and we want tender here. Stop as soon as you don't see flour streaks anymore.
- Scatter in your add-ins:
- Fold in the chocolate chips, walnuts, and chopped dark chocolate (if using) with just a few more gentle strokes, keeping that tender texture intact. You should see chunks of chocolate and nutty pieces throughout.
- Get it into the skillet:
- Spread the batter evenly across your prepared skillet using an offset spatula or the back of a spoon, pressing gently so there aren't air pockets. The top should be fairly level but doesn't need to be perfect.
- Bake until golden:
- Slide it into the oven for 22–25 minutes; the edges will turn golden brown and smell like a bakery, while the center will still have a tiny jiggle. A toothpick inserted in the very center should come out with a few moist crumbs clinging to it—that's exactly what you want.
- Cool before you dive in:
- Let the skillet sit on the counter for 10 minutes so the structure sets just enough to hold together, but it'll still be warm and soft when you serve it. This waiting period is torture but worth it.
 Save to Pinterest
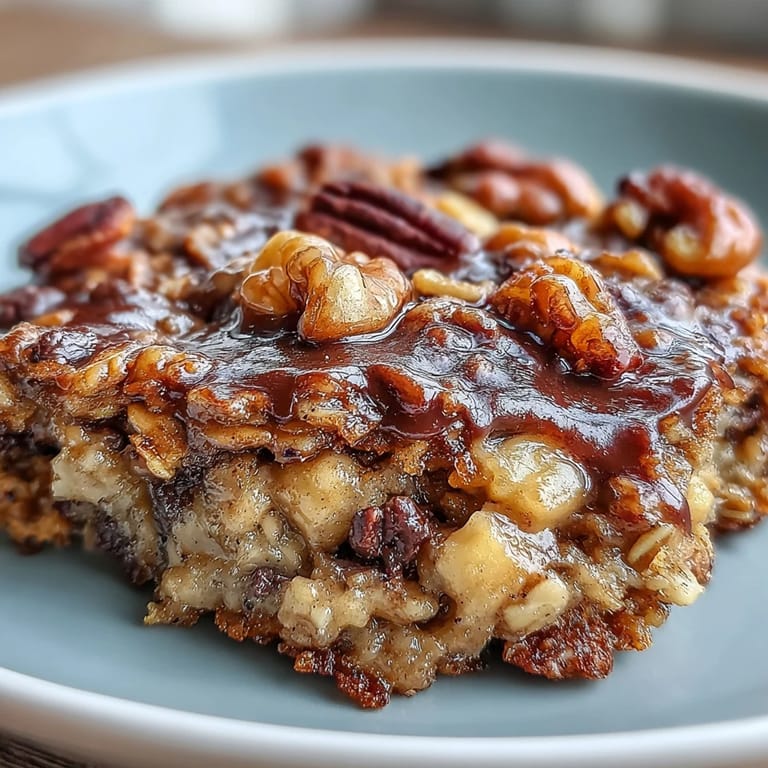
 There's something about food that comes out of a single vessel, still hot, that makes people linger around the kitchen. My neighbor once asked for the recipe after tasting this and then admitted she'd made it three times in one week because her family kept requesting it. That's the kind of approval that sticks with you.
Why Cast Iron Makes a Difference
Cast iron holds heat like nothing else and creates those slightly crispy, caramelized edges while the center stays tender—you get textural contrast that a ceramic dish just can't match. Plus, there's something undeniably inviting about bringing the actual skillet to the table and letting people serve themselves straight from it, fork in hand, still steaming. It transforms a simple baked good into an experience.
Variations That Actually Work
I've swapped walnuts for pecans (better if you like buttery nuttiness) and once threw in dried cherries instead, which gave it a tart surprise that balanced the sweetness in an unexpected way. A friend made the vegan version with coconut oil and a flax egg, and honestly, I couldn't taste the difference—the bananas add so much moisture that you don't miss the traditional binders. The beauty of this recipe is that it's forgiving enough to let you play.
Serving and Storage Secrets
Serve it warm with vanilla or chocolate ice cream and watch people's faces light up—the melting ice cream mingles with the warm cookie in a way that feels indulgent. Leftover skillet keeps for three days covered on the counter, and while it's best warm, cold slices with coffee the next morning are their own kind of breakfast revelation.
- Reheat leftovers in a 300°F oven for five minutes if you want that warm, gooey texture back without drying anything out.
- If you're doubling the recipe, use a 12-inch skillet or split between two 10-inch pans, but don't try to cram double batter into a single skillet.
- Always let the skillet cool for at least ten minutes before slicing, or you'll end up with warm crumbles instead of actual slices—patience pays off here.
 Save to Pinterest
 This skillet cookie is one of those recipes that tastes like comfort and novelty at the same time, familiar enough to feel safe but different enough to be memorable. Bake it for someone, and you're not just making dessert—you're making a moment.
Questions & Answers
- → Can I make this skillet vegan?
Yes. Replace butter with melted coconut oil and substitute the egg with a flax egg (1 tablespoon ground flaxseed mixed with 2.5 tablespoons water, let sit for 5 minutes). The result remains deliciously moist and flavorful.
- → What size skillet works best?
A 10-inch cast-iron skillet or oven-safe pan is ideal. This size allows the cookie to bake evenly, creating those coveted crispy edges while maintaining a soft, gooey center.
- → How do I know when it's done baking?
The edges should appear golden brown, and a toothpick inserted into the center comes out with moist crumbs rather than wet batter. This usually takes 22-25 minutes at 350°F.
- → Can I add other mix-ins?
Absolutely. Dried cherries, pecans instead of walnuts, or peanut butter chips all work wonderfully. Keep the total add-in quantity around 1.5 cups to maintain proper texture.
- → Should I serve it warm or can it be made ahead?
Best served warm within an hour of baking, though leftovers reheat beautifully in a 300°F oven for 5-10 minutes. The skillet can be assembled ahead and refrigerated—just add 2-3 minutes to baking time.
- → What's the best way to store leftovers?
Cover the cooled skillet tightly with foil or transfer to an airtight container. Keeps at room temperature for 2 days or refrigerated for up to 5 days. Reheat before serving for that fresh-baked texture.