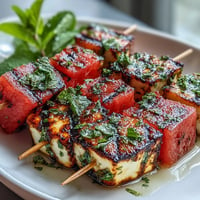
Save to Pinterest
 One afternoon, as the kitchen filled with a teasing swirl of peppers and garlic, curiosity nudged me into the world of homemade fermented hot sauce. Pinching the stems from a motley crew of chilies, I wondered how such humble ingredients could transform into a bottle of bracing, tangy fire. The air prickled with anticipation as I measured out brine, feeling like a mad scientist about to unleash something bold. Every time I glimpse that bubbling jar hidden away in my pantry, it signals the start of a flavor adventure. The thrill is in the wait, knowing each batch promises something a little unexpected.
A few weeks ago, I handed my brother a spoonful of the finished sauce and watched his eyebrows shoot up in surprise—turns out, fermenting hot sauce at home is a surefire way to become the unofficial ‘sauce supplier’ at family cookouts. Nothing shuts up the doubters like a splash of your own tangy, homemade fire on a breakfast taco.
Ingredients
- Fresh red chili peppers (300 g): The backbone of your sauce—mixing heat types creates depth and balance. Work with gloves if you’re sensitive to spice.
- Red bell pepper (1 small): Adds subtle sweetness and rounds out the chili burn without overpowering.
- Garlic cloves (4): Garlic brings an earthy punch and fuses beautifully with the heat; smash the cloves to help them release their essence.
- Shallot or onion (1 small shallot or ½ onion): A mild allium note tames the sharpness of the other ingredients.
- Carrot (1 medium, optional): This is my little trick for smoothness and natural sweetness—highly recommended if you want a sauce with extra body.
- Filtered water (500 ml): Filtered water prevents any unwanted flavors—chlorine can impede fermentation.
- Non-iodized salt (15 g or 1 tbsp): Sea salt or kosher salt is essential; avoid table salt, which can alter the final taste and inhibit good bacteria.
- Apple cider vinegar (2 tbsp): Gives your finish a bright, tangy note and pulls all the flavors together; swapping with white or rice vinegar changes the character.
Tired of Takeout? 🥡
Get 10 meals you can make faster than delivery arrives. Seriously.
One email. No spam. Unsubscribe anytime.
Instructions
- Brine Time:
- Dissolve the salt in filtered water until it’s completely clear; swirl with your fingers, listening for that satisfying soft hiss.
- Prep the Veggies:
- Roughly chop chilies, bell pepper, carrot, garlic, and shallot or onion—don’t worry about looks, just aim for even pieces so they all get cozy in the jar together.
- Load the Jar:
- Pack all of the vegetables and aromatics into a squeaky-clean 1-liter jar, arranging them so they’re snug but not crammed.
- Submerge & Weigh Down:
- Pour in the brine until everything is submerged; use a fermentation weight or zip-top bag filled with brine to keep those veggies under control and safe from the air.
- Cover & Wait:
- Loosely cap the jar or fit with an airlock if you have one—this helps those happy bubbles escape while keeping nasties out.
- Ferment:
- Stash the jar in a cool, dark place for 7 days, checking daily to make sure all pieces stay underwater, and carefully skimming any odd bits on the surface.
- Blend & Flavor:
- Toss the whole lot—brine included—into a blender, add the vinegar, and whiz until as smooth as possible; for a thinner pour, add a splash more brine or vinegar.
- Sieve or Not:
- Push the sauce through a fine mesh sieve for velvet-smooth results, or skip this for a chunkier, rustic finish.
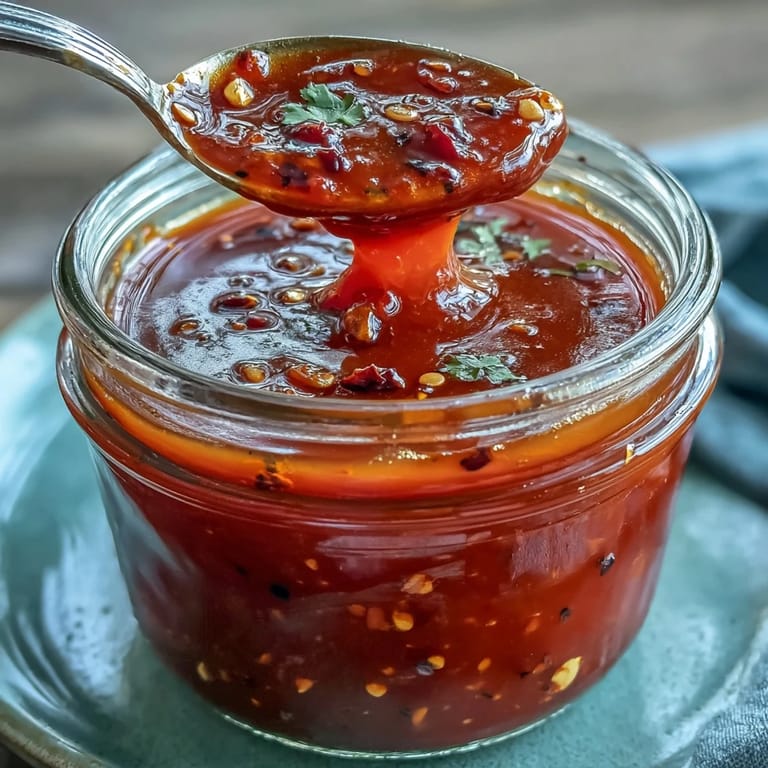
- Bottle Up:
- Funnel the sauce into a sterilized bottle or jar and stash in the fridge—every week brings a new layer of flavor.
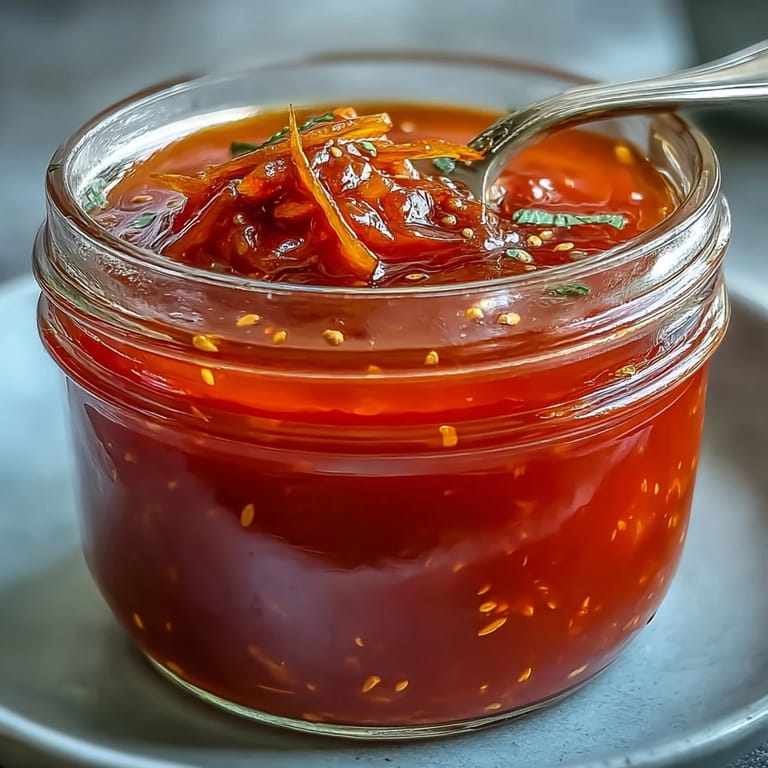 Save to Pinterest
 I knew I was onto something when a drizzle of this hot sauce somehow stole the spotlight on a wintery bowl of soup, sizzling over the steam and waking up every taste bud at the table. It’s weirdly satisfying how a jar left forgotten in a cupboard can become the most-requested condiment in the house.
Troubleshooting Fermentation
Once I spotted a bit of harmless white film on the surface—known as kahm yeast—which looked alarming but was easy to skim off with a spoon. If it ever smells truly foul or odd, I always trust my instincts and start fresh. Trusting your nose is part of the homemade hot sauce journey.
Dialing In Your Heat
I tried experimenting with different pepper combinations: a lone habanero added to the mix one time brought a whole new level of fire, which sent everyone at dinner greedily reaching for more—but it’s incredibly adjustable. You can skip the carrot for extra punch or up the bell pepper for a milder profile, tuning the sauce to match anyone’s taste or bravery.
How to Store and Use It
The flavors just get bolder and richer in the fridge—every week it tastes slightly different, so sampling as you go is half the fun. I reach for it on everything: eggs, stir-fries, noodles, even popcorn for a spicy twist.
- Label your bottle with the date for reference.
- Shake well before each pour; separation is totally normal.
- Avoid double-dipping to keep your sauce fresh for months.
 Save to Pinterest
 If you ever want to wow someone with real flavor, hand them your homemade hot sauce—they’ll never look at the store stuff the same way again.
Questions & Answers
- → How long should the vegetables ferment?
Keep the jar at 18–22°C (65–72°F) and ferment for seven days. Check daily to ensure everything stays submerged and remove any surface scum.
- → Which chiles work best for balanced heat?
Use ripe red chiles like Fresno, jalapeño or serrano for balance; add a few habaneros or Thai chilies for extra heat. A red bell pepper softens heat and adds sweetness.
- → What is the brine concentration?
Fifteen grams of non-iodized salt per 500 ml water yields roughly a 3% brine—enough to encourage lactic activity while limiting unwanted microbes.
- → Can I skip the fermentation step?
Skipping fermentation gives a fresh, bright chile purée, but it won’t develop the deep tang and complexity that week-long lacto-fermentation produces. Acidify with vinegar if you need a quick version.
- → How do I adjust texture and smoothness?
For a thinner pour, blend in extra brine or vinegar. Push the blended sauce through a fine-mesh sieve for a silky finish, or leave it rustic for more body and texture.
- → How should the sauce be stored and how long will it keep?
Transfer to a sterilized bottle and refrigerate; cold slows further fermentation. Flavor will evolve in the fridge and the sauce should keep well for about three months.